
Firstly I removed all coloured nail varnish to ensure that we gain the correct colour for this effect. The first material you add is clear nail varnish. in which will protect our nails from the dark paints as I didn't want to stain my nails. You can use fake nails if you want so you can gain a jagged nail, however, I thought that I will use my own nails so that it will be more realistic therefore keep the continuity of our trailer consistent and believable.

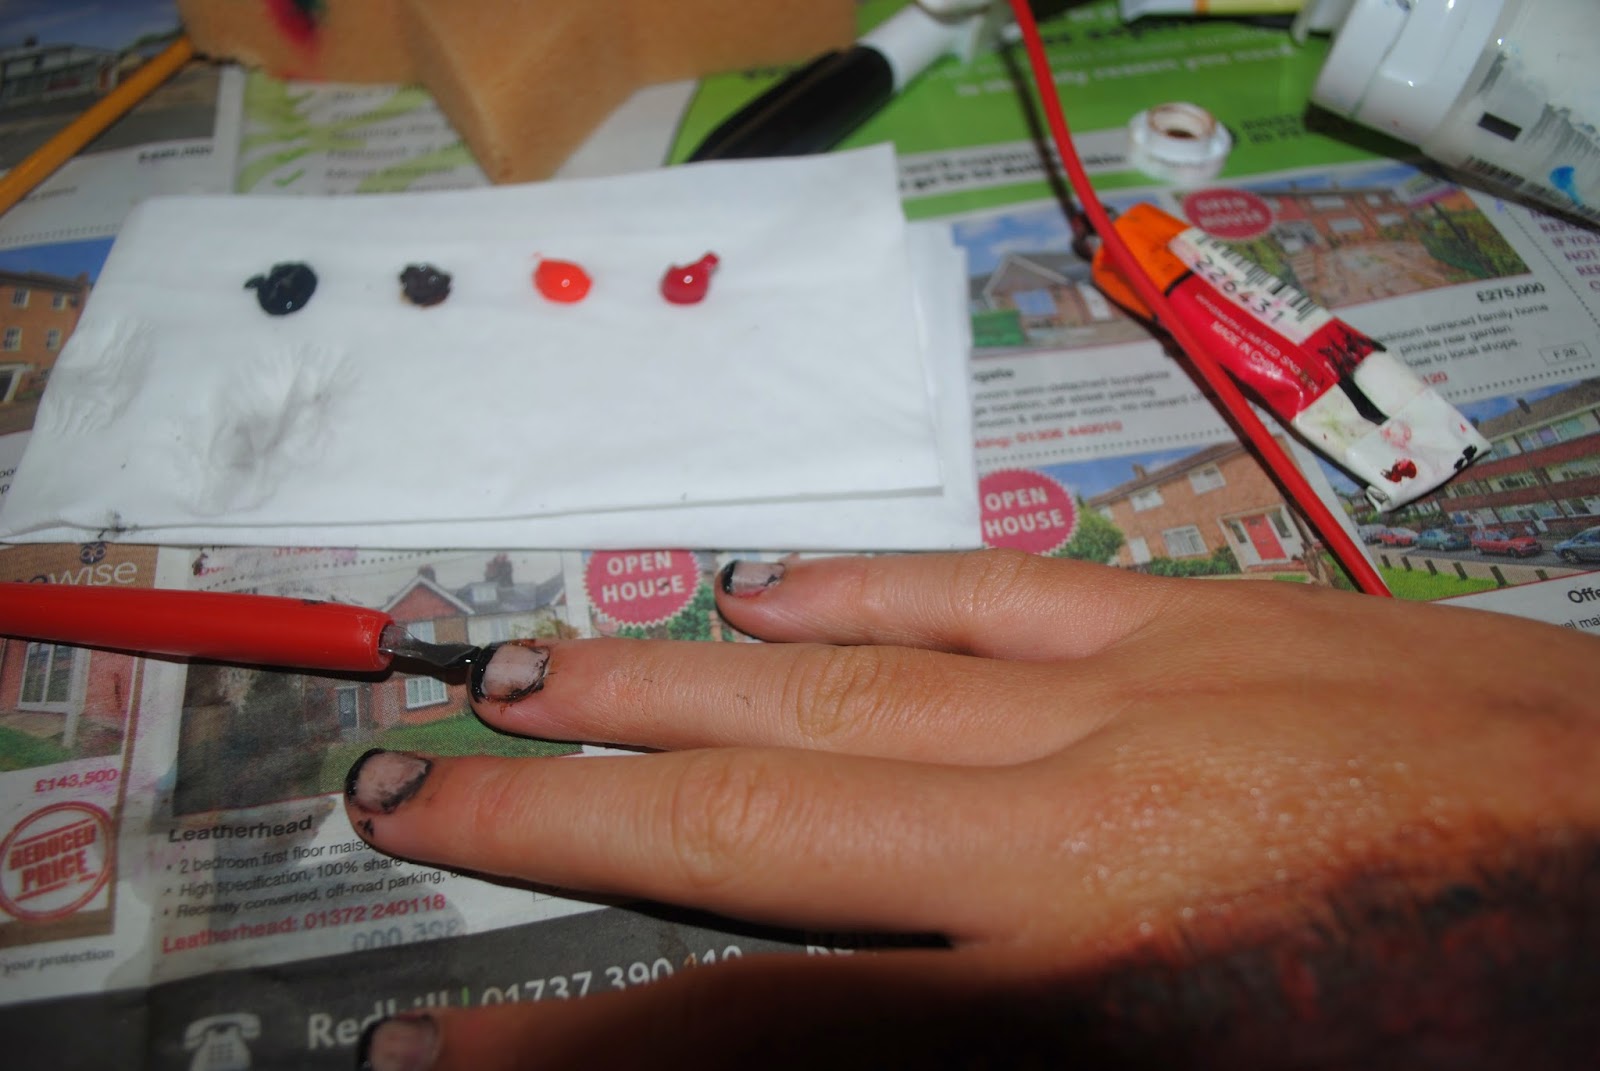
These are the main colours I used; black, dark brown, orange/yellow, and red. I chose these colours as they would create a dirt soil like colour when I blended them onto my nail, which will occur within the upcoming stages of this tutorial. I used a fine tipped paintbrush to apply these paints so I did not go over the nail to much as I was going to do this later.

Once I added the black underline, I dampened the paintbrush in water, which I used to slowly smudged the black paint up the nail. This created a weaker black colour, which would aid me into rendering other colours to therefore create a dirt colour on my nails.


This is the final outcome of this tutorial, which did work effectively. This as you can see would emphasis how desperate the protagonist, within our trailer, wanted to leave the location. An improvement to this would be removing some of the paint on the skin or using a darker colour so that it would look more earth like. On the other hand, I could add real soil to this section by applying it when the paint is slightly damp and wet, therefore they would adhesive together and produce an even more effective outcome. I did this tutorial, so if we have any close up shots of hands it would make the production seem very realistic as the protagonists of the trailer would get filthy trying to escape a group of antagonists trying to kill you. This tutorial was also mainly for the final shot of the trailer, which we are debating on using or not. This is the lighter scene which would involve using a few close ups of the female's protagonist nails, which this make up would therefore reinforce the realism of the mise en scene during this situation.
No comments:
Post a Comment